I got this idea off of pinterest! My daughter, who saves everything under the sun, had about a dozen of these toilet paper rolls saved up. So we decorated them with markers, but the ends off to make them tilt a little (I know it's hard to tell from this picture), glued the tubes to another piece of cardboard, let it dry, and then put some pencils in them.
I thought they turned out pretty cute! Of course not as nice as the posting I found on Pinterest.
Tuesday, October 2, 2012
Friday, August 24, 2012
paper plate dreamweaver
you will need:
paper plate with middle cut out
yarn and/or ribbon
glue or tape
stickers, markers, colored pencils to decorate dreamweaver
scissors
Construction paper
1. Cut out the middle of the paper plate and then little slits around the outside of the paper plates. The little slits are for the yarn.
2. Decorate the plate using whatever supplies you want.
3. Start wrapping the yarn around the plate putting the yarn through the little slits. Make sure to leave enough yarn at the top to tie a not so you can hang the dreamweaver on a doorknob or nail.
4. Tape some decorations to the end of ribbon and then tape the other end of the ribbon to the paper plate.
paper plate with middle cut out
yarn and/or ribbon
glue or tape
stickers, markers, colored pencils to decorate dreamweaver
scissors
Construction paper
1. Cut out the middle of the paper plate and then little slits around the outside of the paper plates. The little slits are for the yarn.
2. Decorate the plate using whatever supplies you want.
3. Start wrapping the yarn around the plate putting the yarn through the little slits. Make sure to leave enough yarn at the top to tie a not so you can hang the dreamweaver on a doorknob or nail.
4. Tape some decorations to the end of ribbon and then tape the other end of the ribbon to the paper plate.
Thursday, August 23, 2012
bottle cap spelling
items needed:
bottle caps
construction paper or old magazines
scissors
pen/pencil
After researching ideas to use with some of the bottle caps I have saved up I decided to use some of them to help my daughter with spelling and words.
Plastic Bottle Cap Art
I have recently started saving plastic bottle caps. I have seen some cute plastic bottle cap art around and thought it would be a fun activity for my daughter and I. Check out some of these cute ideas:
http://www.artgrange.com/michelleworkshop.html
http://inspirationgreen.com/art-from-bottle-tops.html
Not only can you make art, but you can use them to make game pieces or magnets!
http://www.artgrange.com/michelleworkshop.html
http://inspirationgreen.com/art-from-bottle-tops.html
Not only can you make art, but you can use them to make game pieces or magnets!
Friday, August 17, 2012
Washi Tape Pencils
Found this really cute idea to decorate pencils online:
http://pinkandgreenmama.blogspot.com/2012/08/back-to-school-supply-makeover-washi.html?utm_source=feedburner&utm_medium=feed&utm_campaign=Feed%3A+blogspot%2FHmTrN+%28Pink+and+Green+Mama%29&utm_content=Google+Reader
I haven't used Washi tape before, but I may have to get some and try this out! My daughter loves art projects and this seems simple and fun!
http://pinkandgreenmama.blogspot.com/2012/08/back-to-school-supply-makeover-washi.html?utm_source=feedburner&utm_medium=feed&utm_campaign=Feed%3A+blogspot%2FHmTrN+%28Pink+and+Green+Mama%29&utm_content=Google+Reader
I haven't used Washi tape before, but I may have to get some and try this out! My daughter loves art projects and this seems simple and fun!
Monday, August 13, 2012
Napkin holder made from mini cereal box
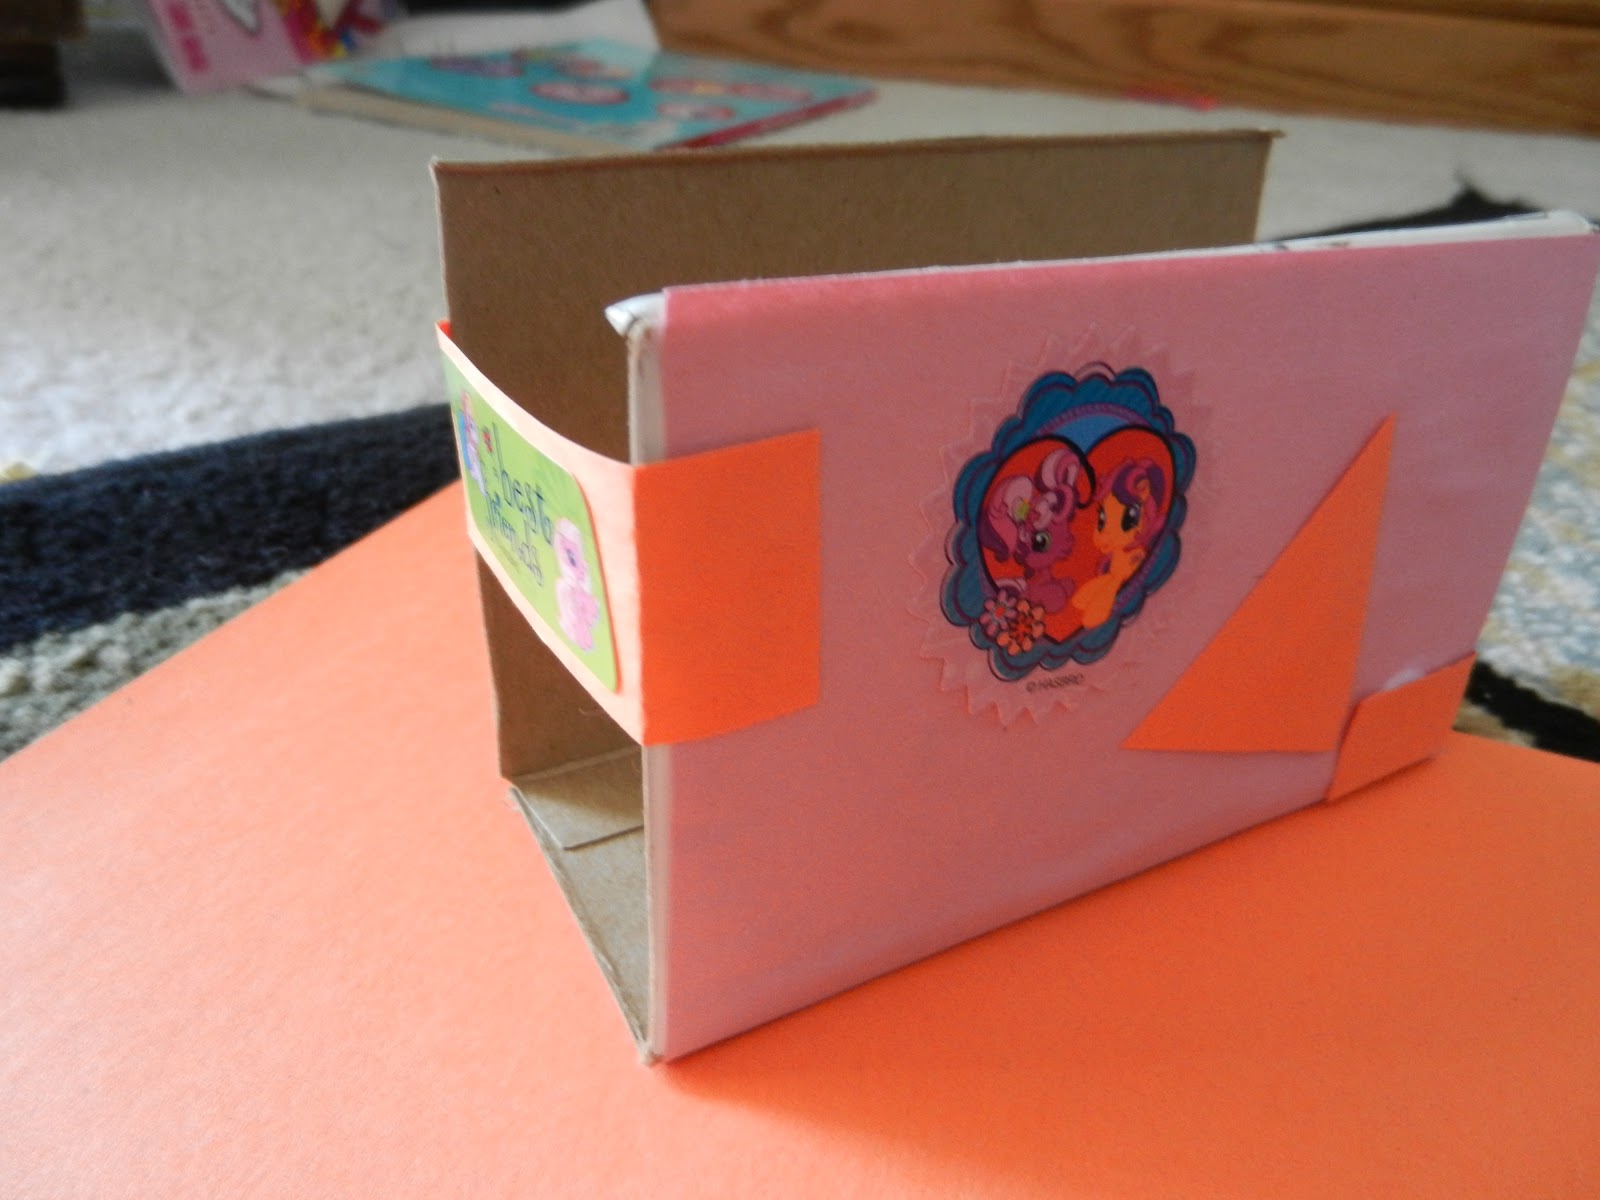
We have been trying to figure out what to do with all these cereal boxes that my daughter, Alex, has been saving for art projects. I really do hope she does not turn out to be a hoarder, because now she does not want to throw away anything in hopes to save items for future art projects. So today we decided to make little napkin holders.
The first step was to cut the box sides leaving one side together, the bottom, as pictured above.
Then we used construction paper and stickers to decorate the box. You can see I added a little strip of paper to the end of the box to hold it together. It worked out OK but I think I need to figure out a different way to keep the box together so the napkins can hang out both ends.
The first step was to cut the box sides leaving one side together, the bottom, as pictured above.
Then we used construction paper and stickers to decorate the box. You can see I added a little strip of paper to the end of the box to hold it together. It worked out OK but I think I need to figure out a different way to keep the box together so the napkins can hang out both ends.
making pictures with rocks
I don't know about your kids, but mine love to collect things, especially rocks. One thing that is fun is having them collect rocks and have them organize them by color, then have them arrange them in a picture or collage. This is a little flower put together by dark gray and yellowish rocks.
Subscribe to:
Posts (Atom)